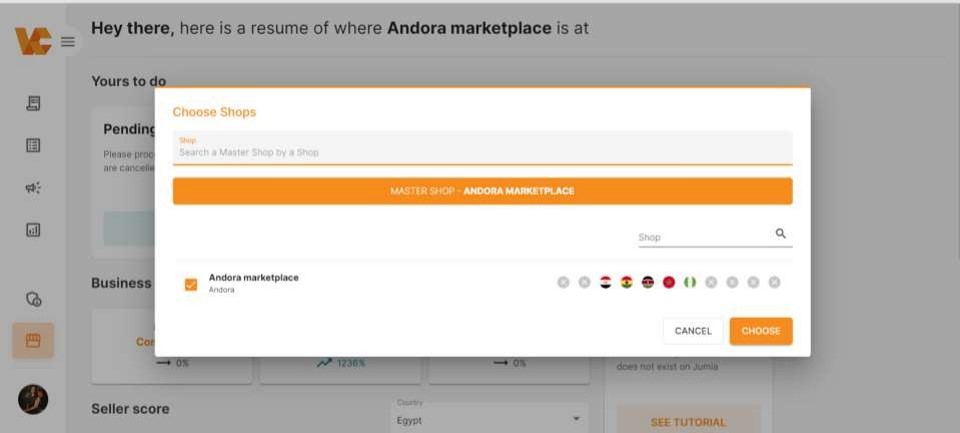
- Choose the shop on Vendor Center
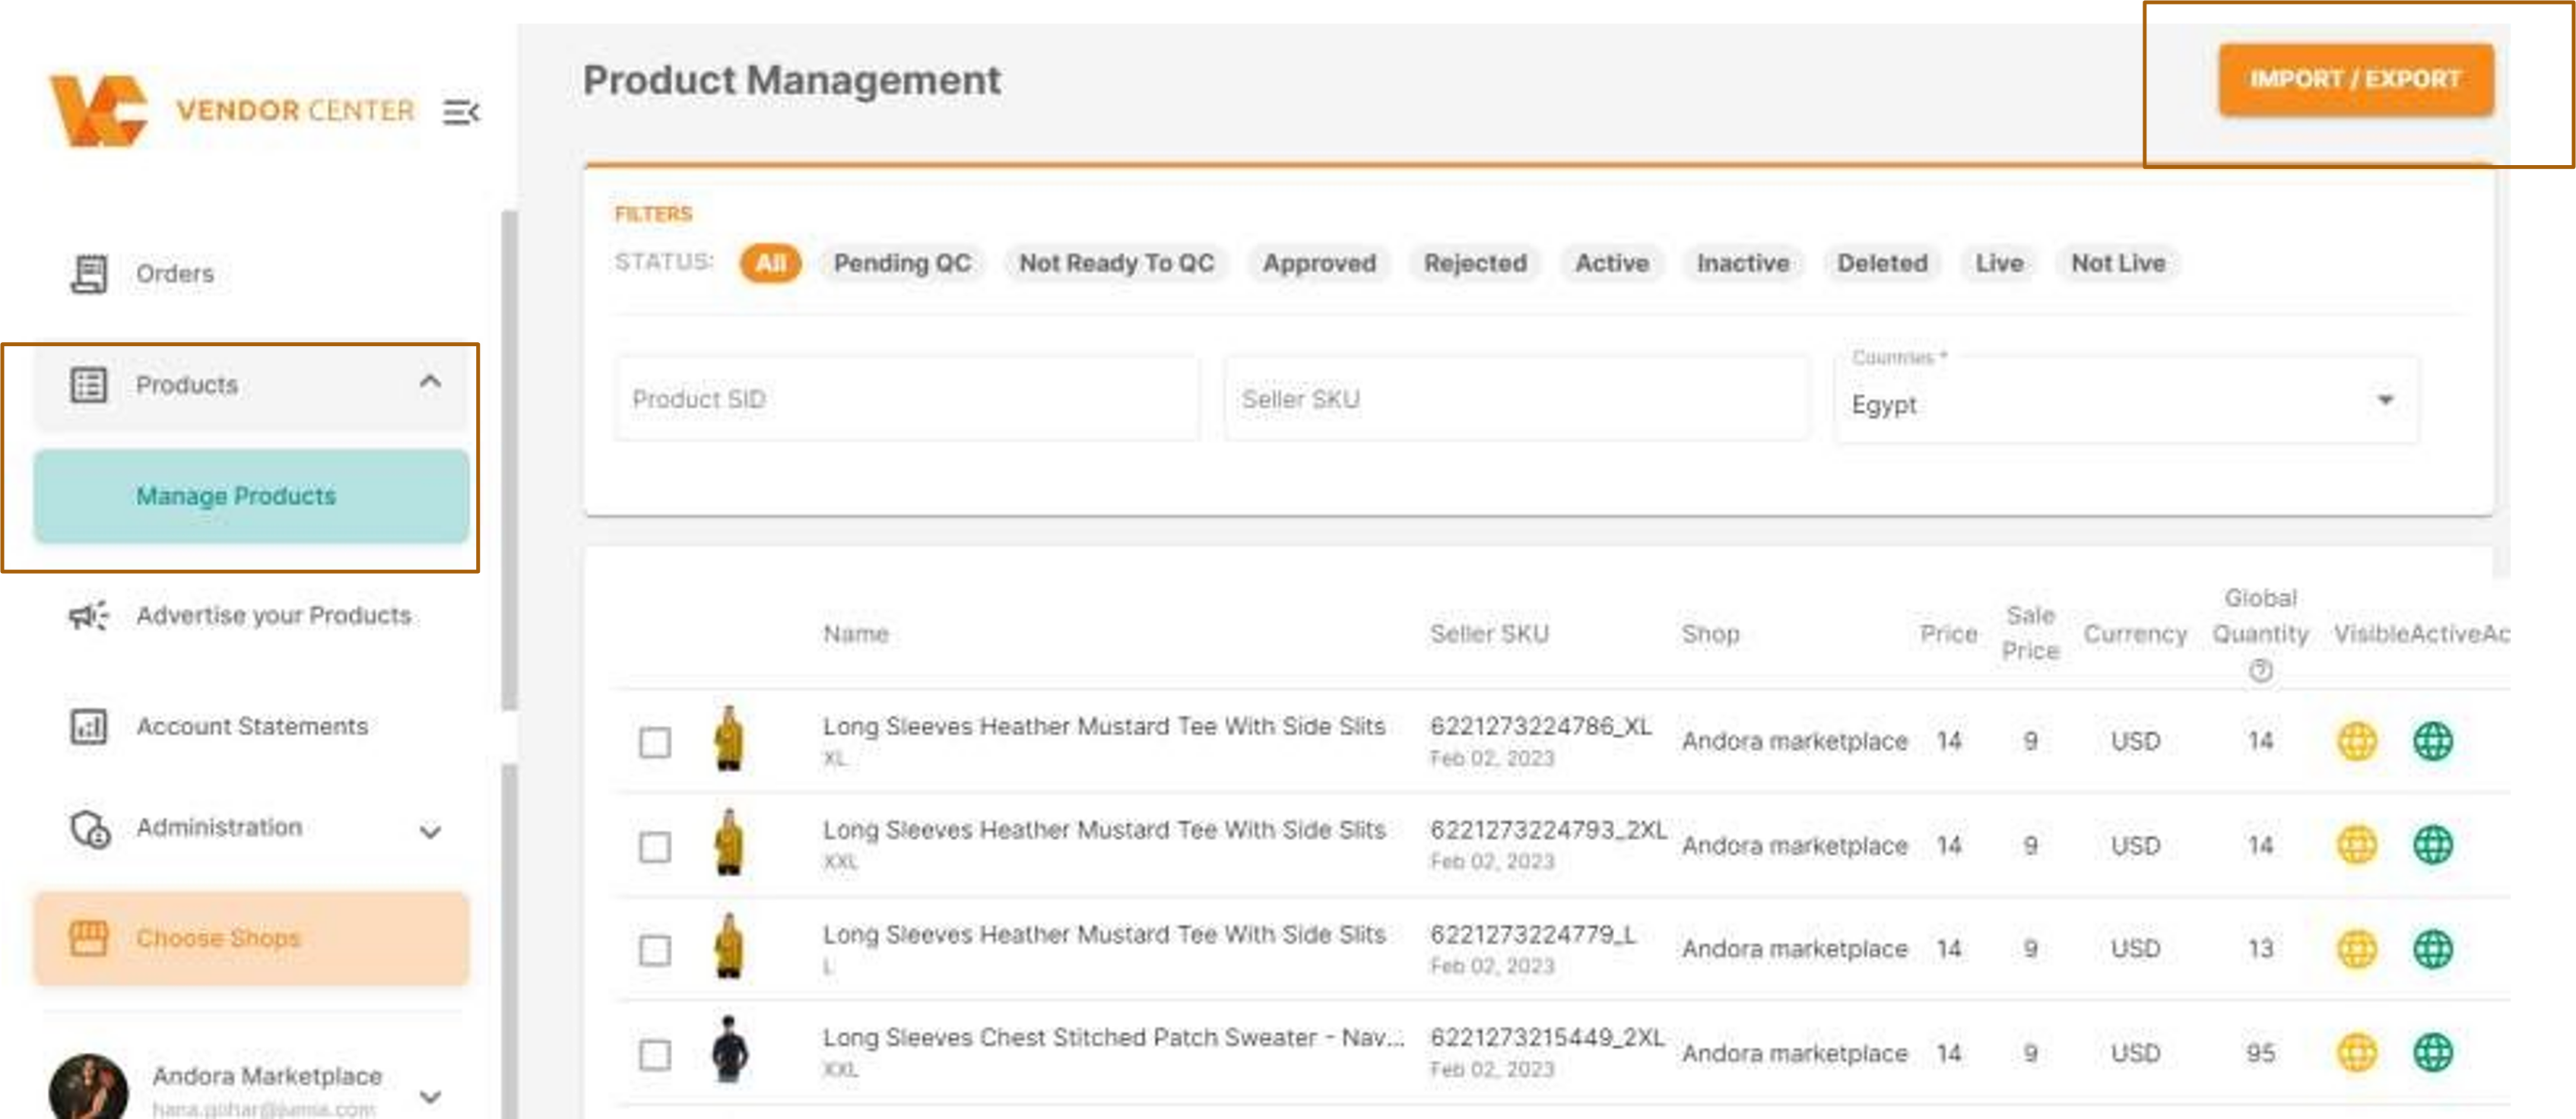
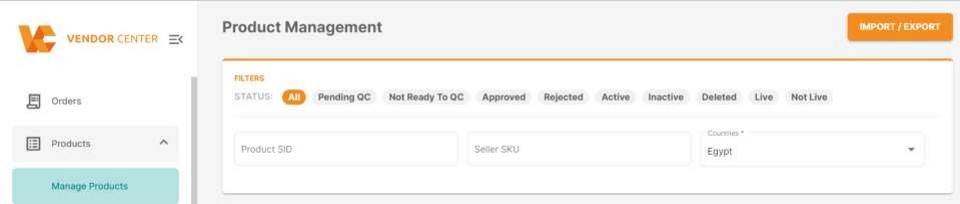
2- From Products > Manage Products, Choose Import / Export
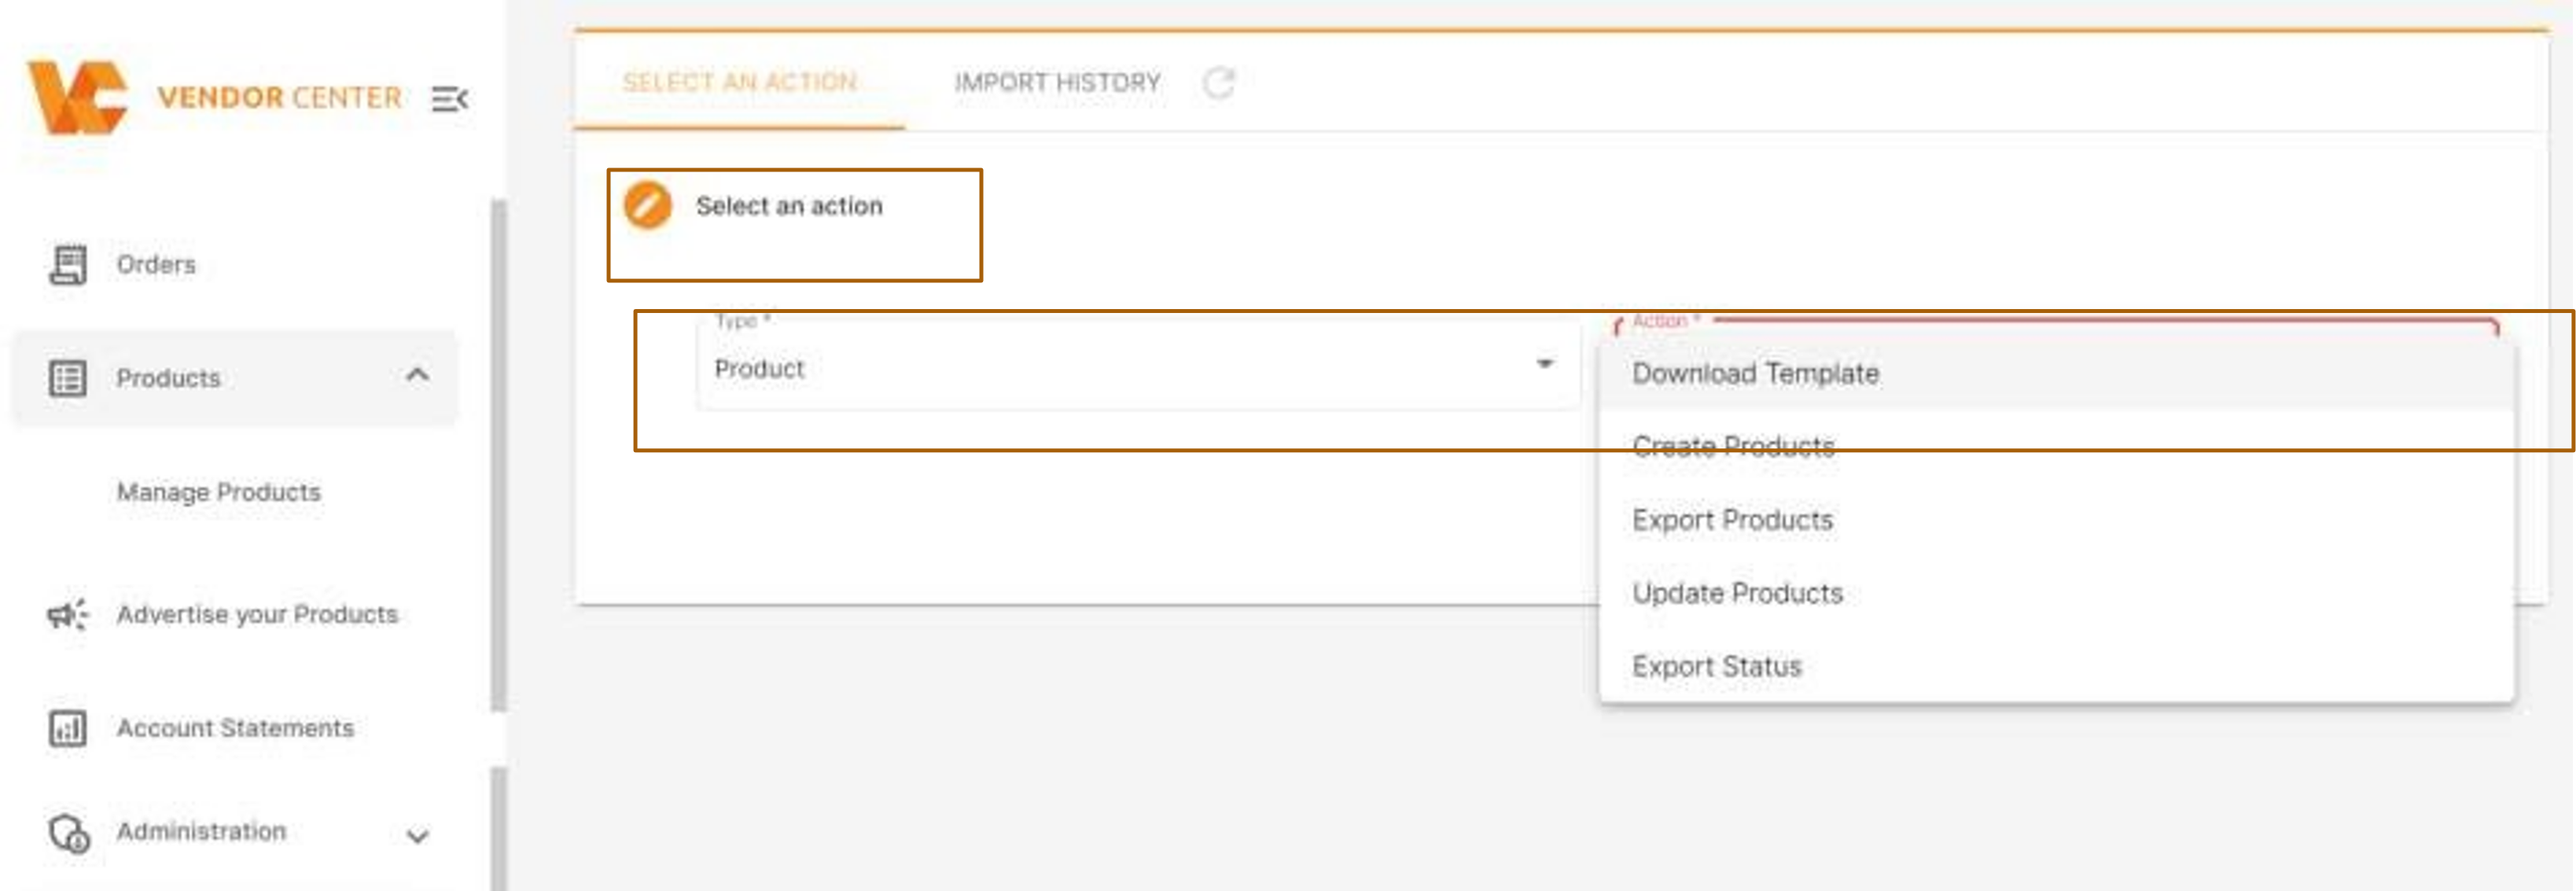
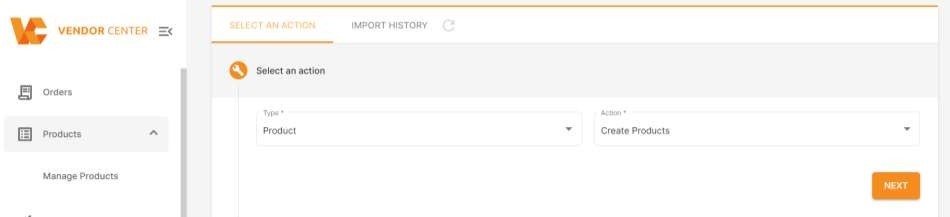
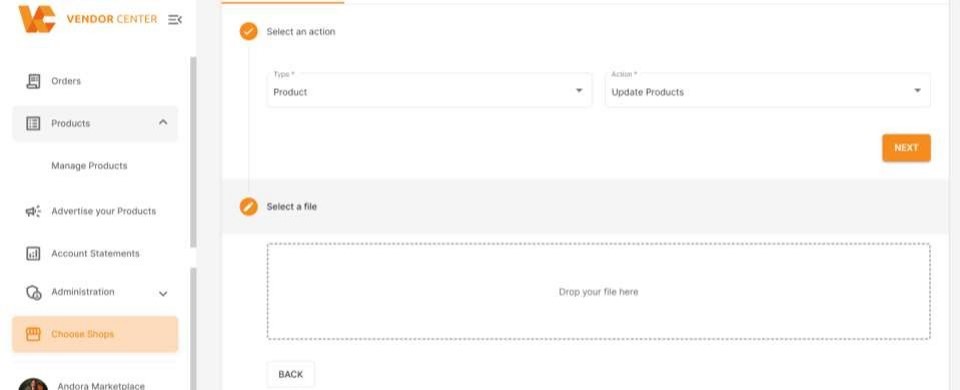
3- Select an action
Type> Product
Action> Download template
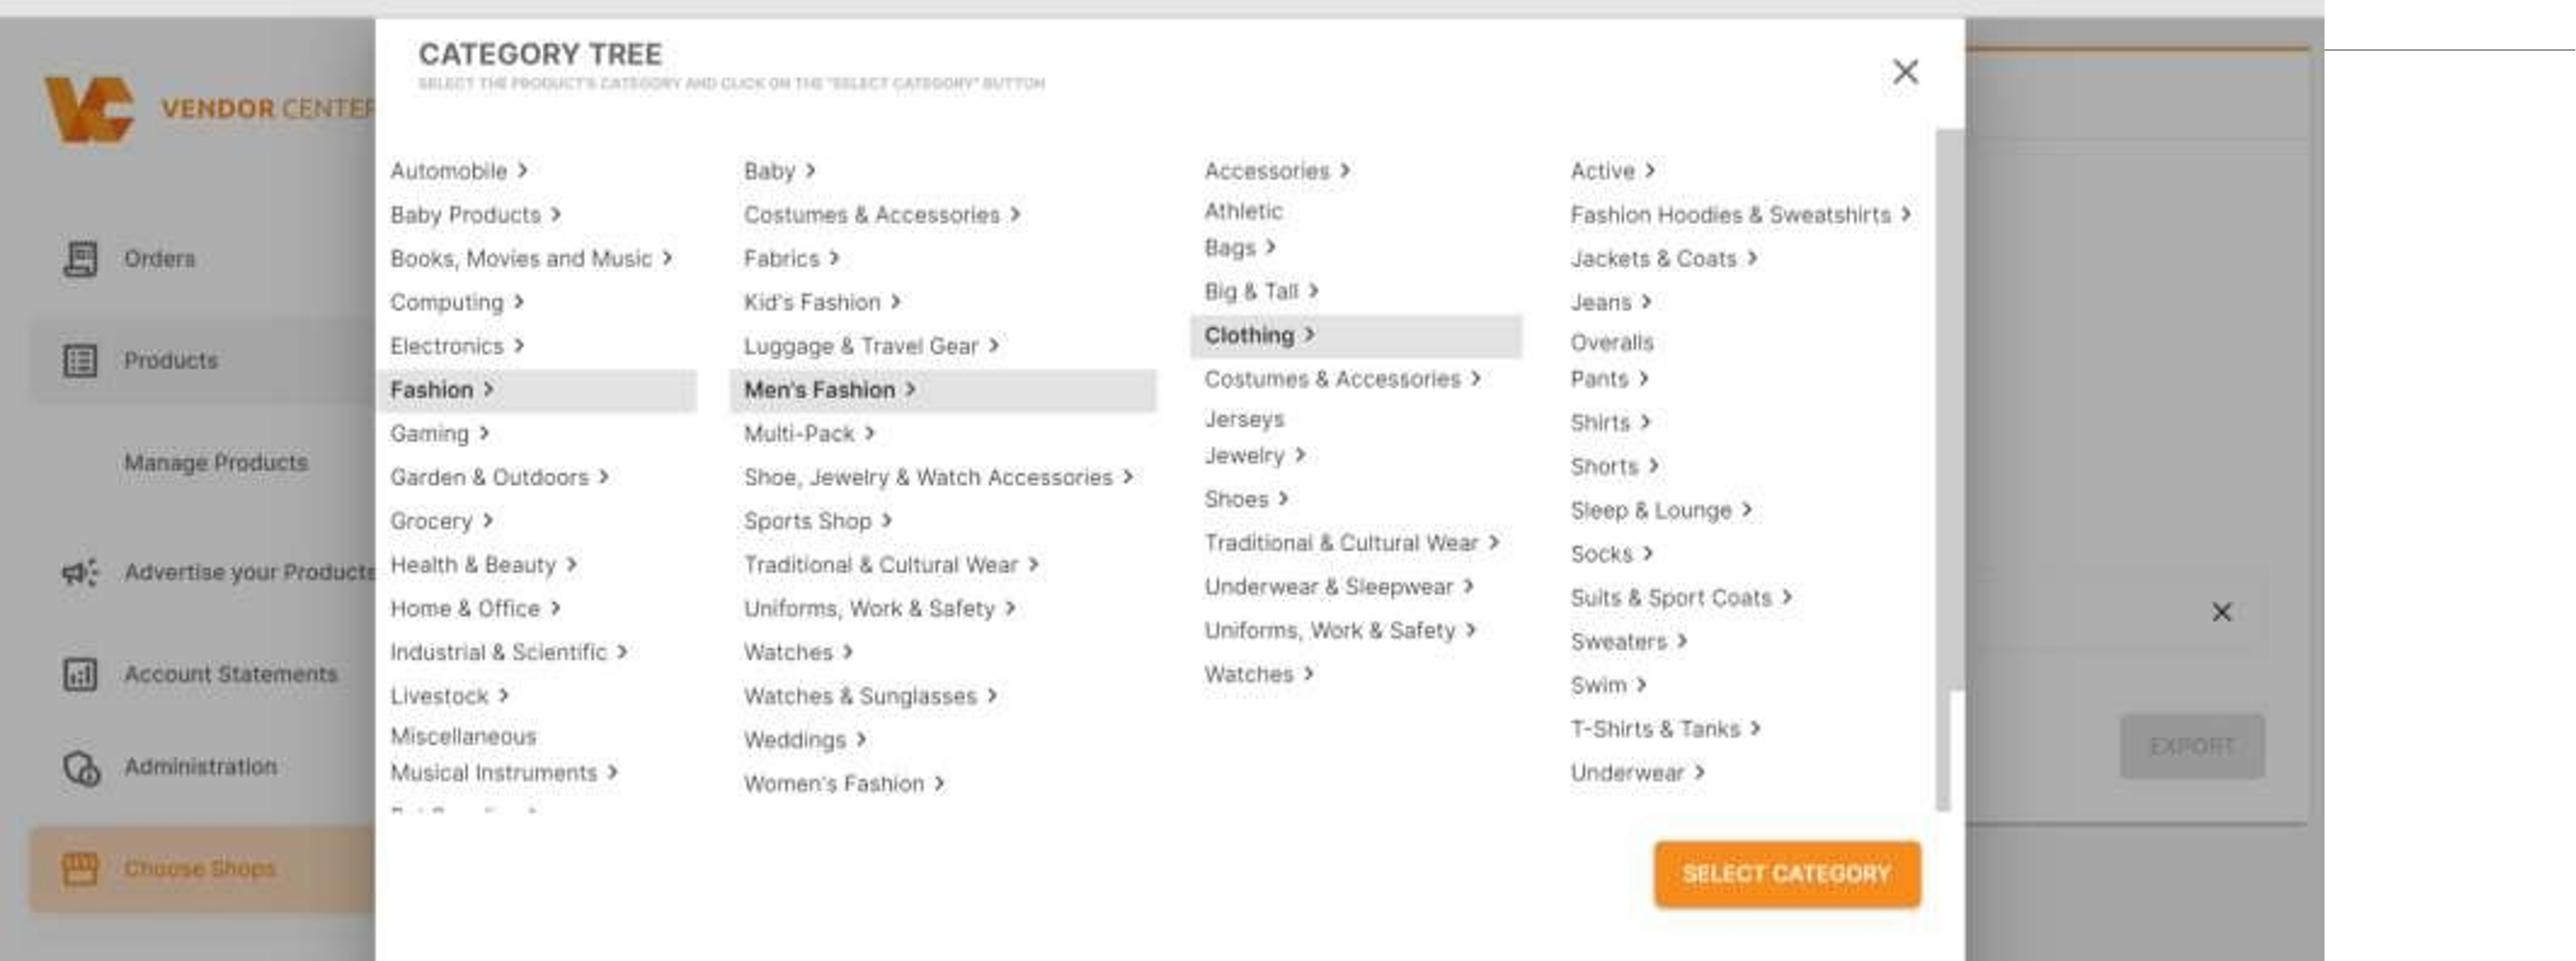
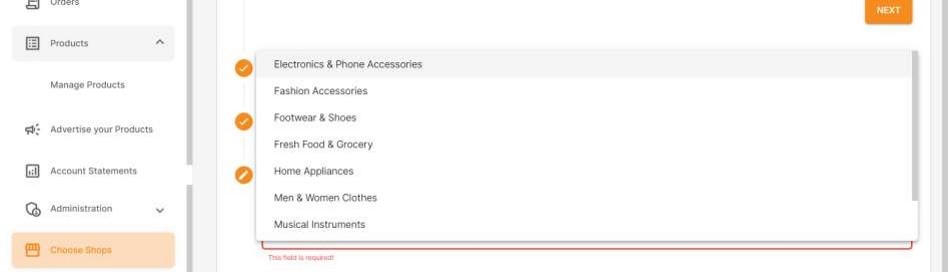
4- Download the template of the category you want to add your products to it
Important Note:
You will not be able to change the category in a different attribute after creation, so choose the category and attribute wisely
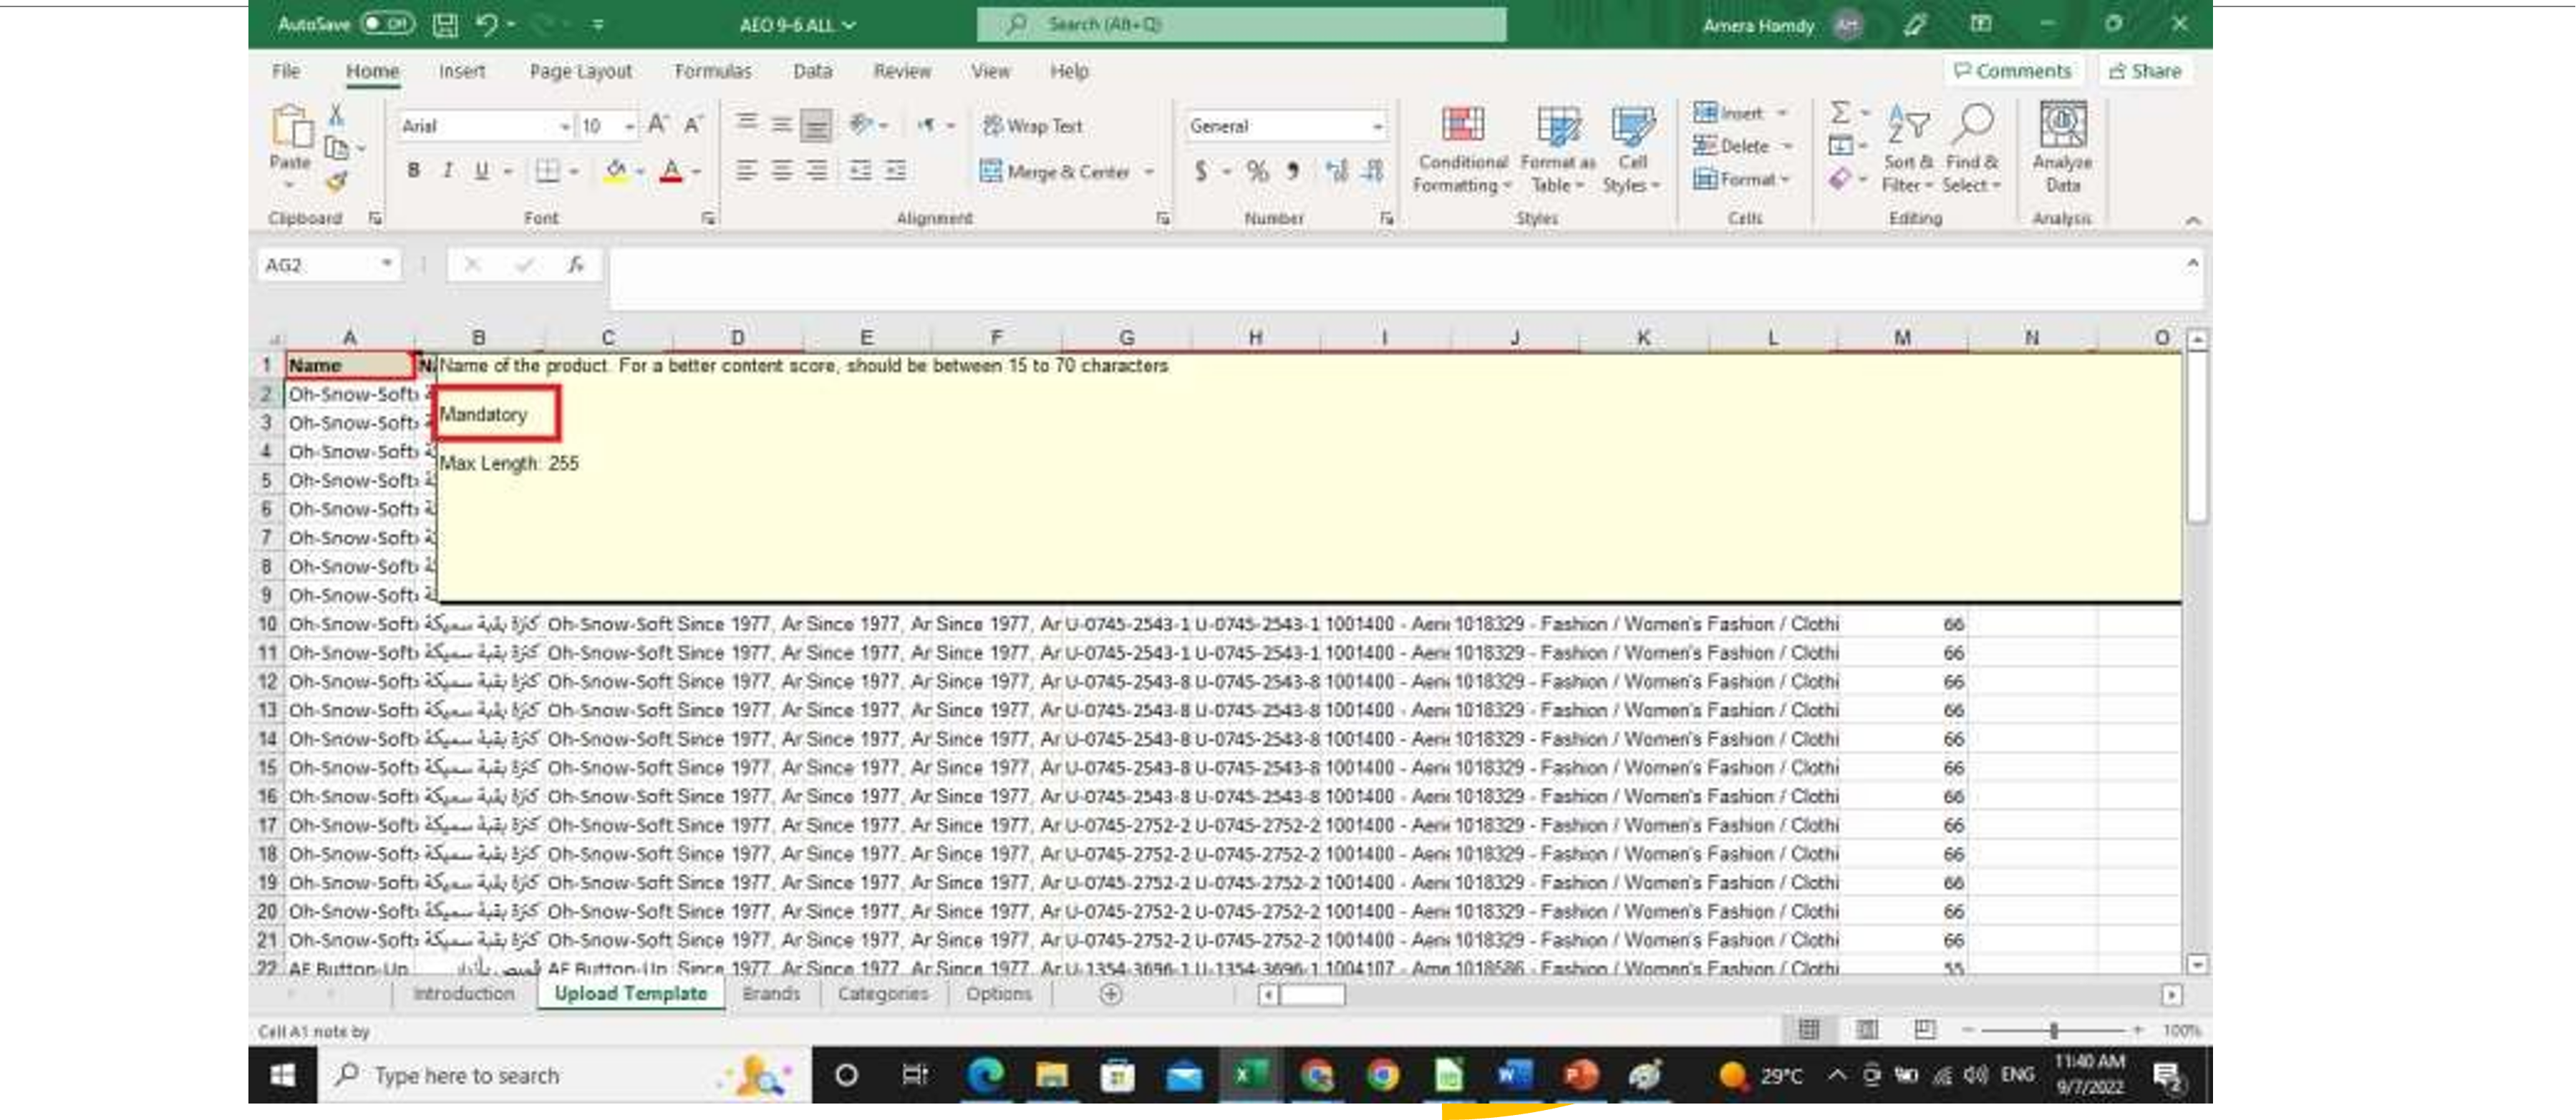
5- The Excel sheet will be downloaded
You must check all the “Mandatories” for this category to be filled for creation
Important Note:
If you missed any mandatory aspect, the creation will fail, so make sure to fill in all the mandatories.
6- Then, to upload the creation file, choose Import/ Export
Important Note:
Please review your sheet thoroughly before uploading it, as you won’t be able to delete anything once it’s created.
7- Type > Product
Action > Create Product
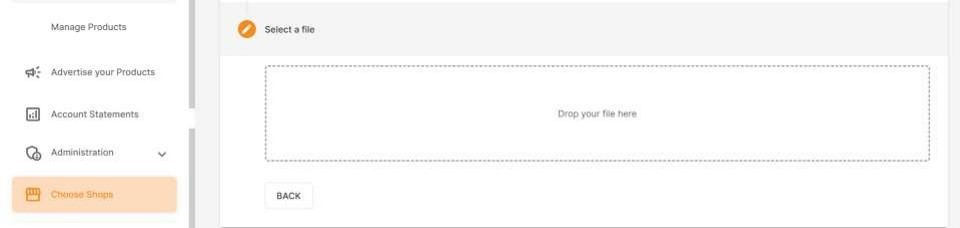
8- Drop your File
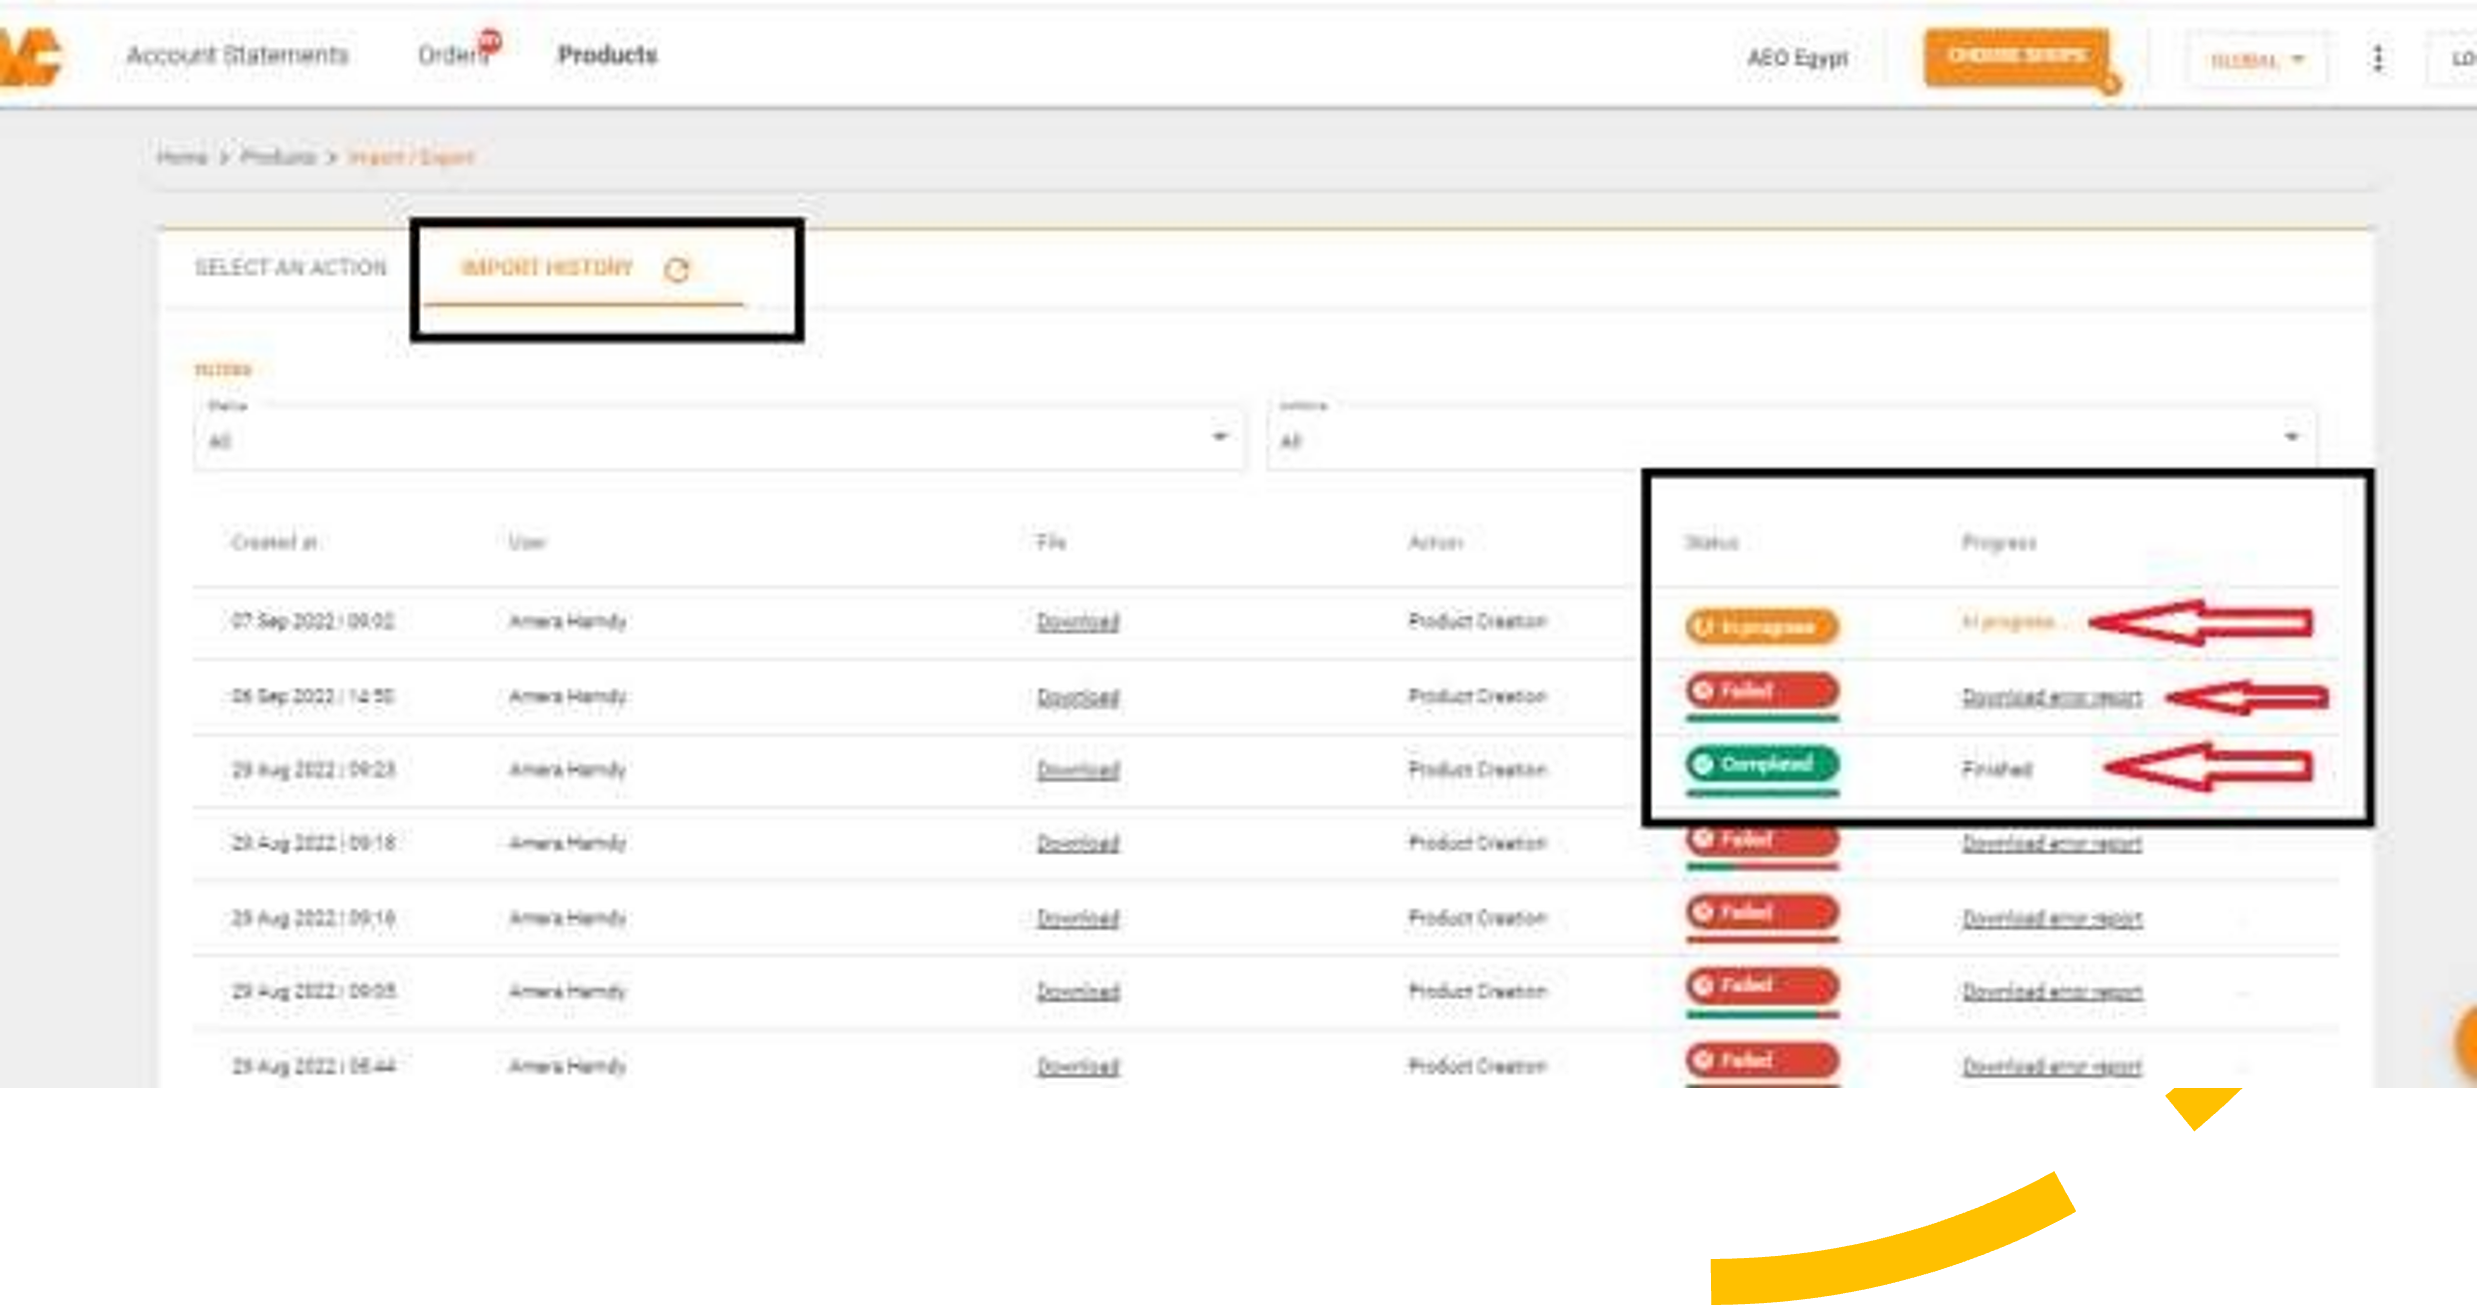
9- Choose the import history to check the status of the uploaded file
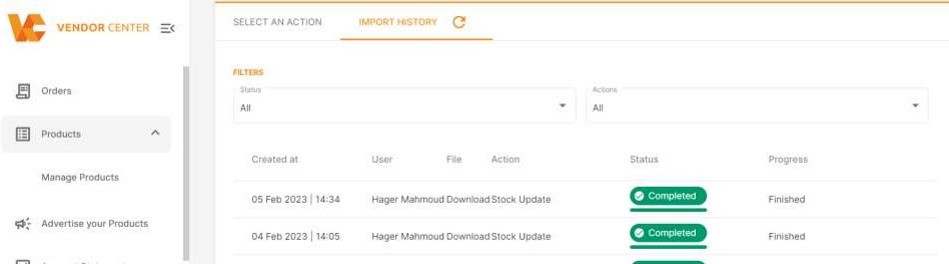
10- You will get 1 of 3 options:
–In progress: Means that the file is still processing
–Failed: Means that the file has some errors, which need to be downloaded and checked.
–Finished: Means that the file is uploaded successfully
Product Update
1- To do any product update, data has to be exported from VC first to get the (SID) to be able to do the update needed
From Import/Export > Product > Export Product

2- Choose the date range that you want to export the products in & choose the Attribute you want to export

3- After adding all the data needed to be updated from Import/ Export > Product > Update product and then drop the File
Price/Stock Update
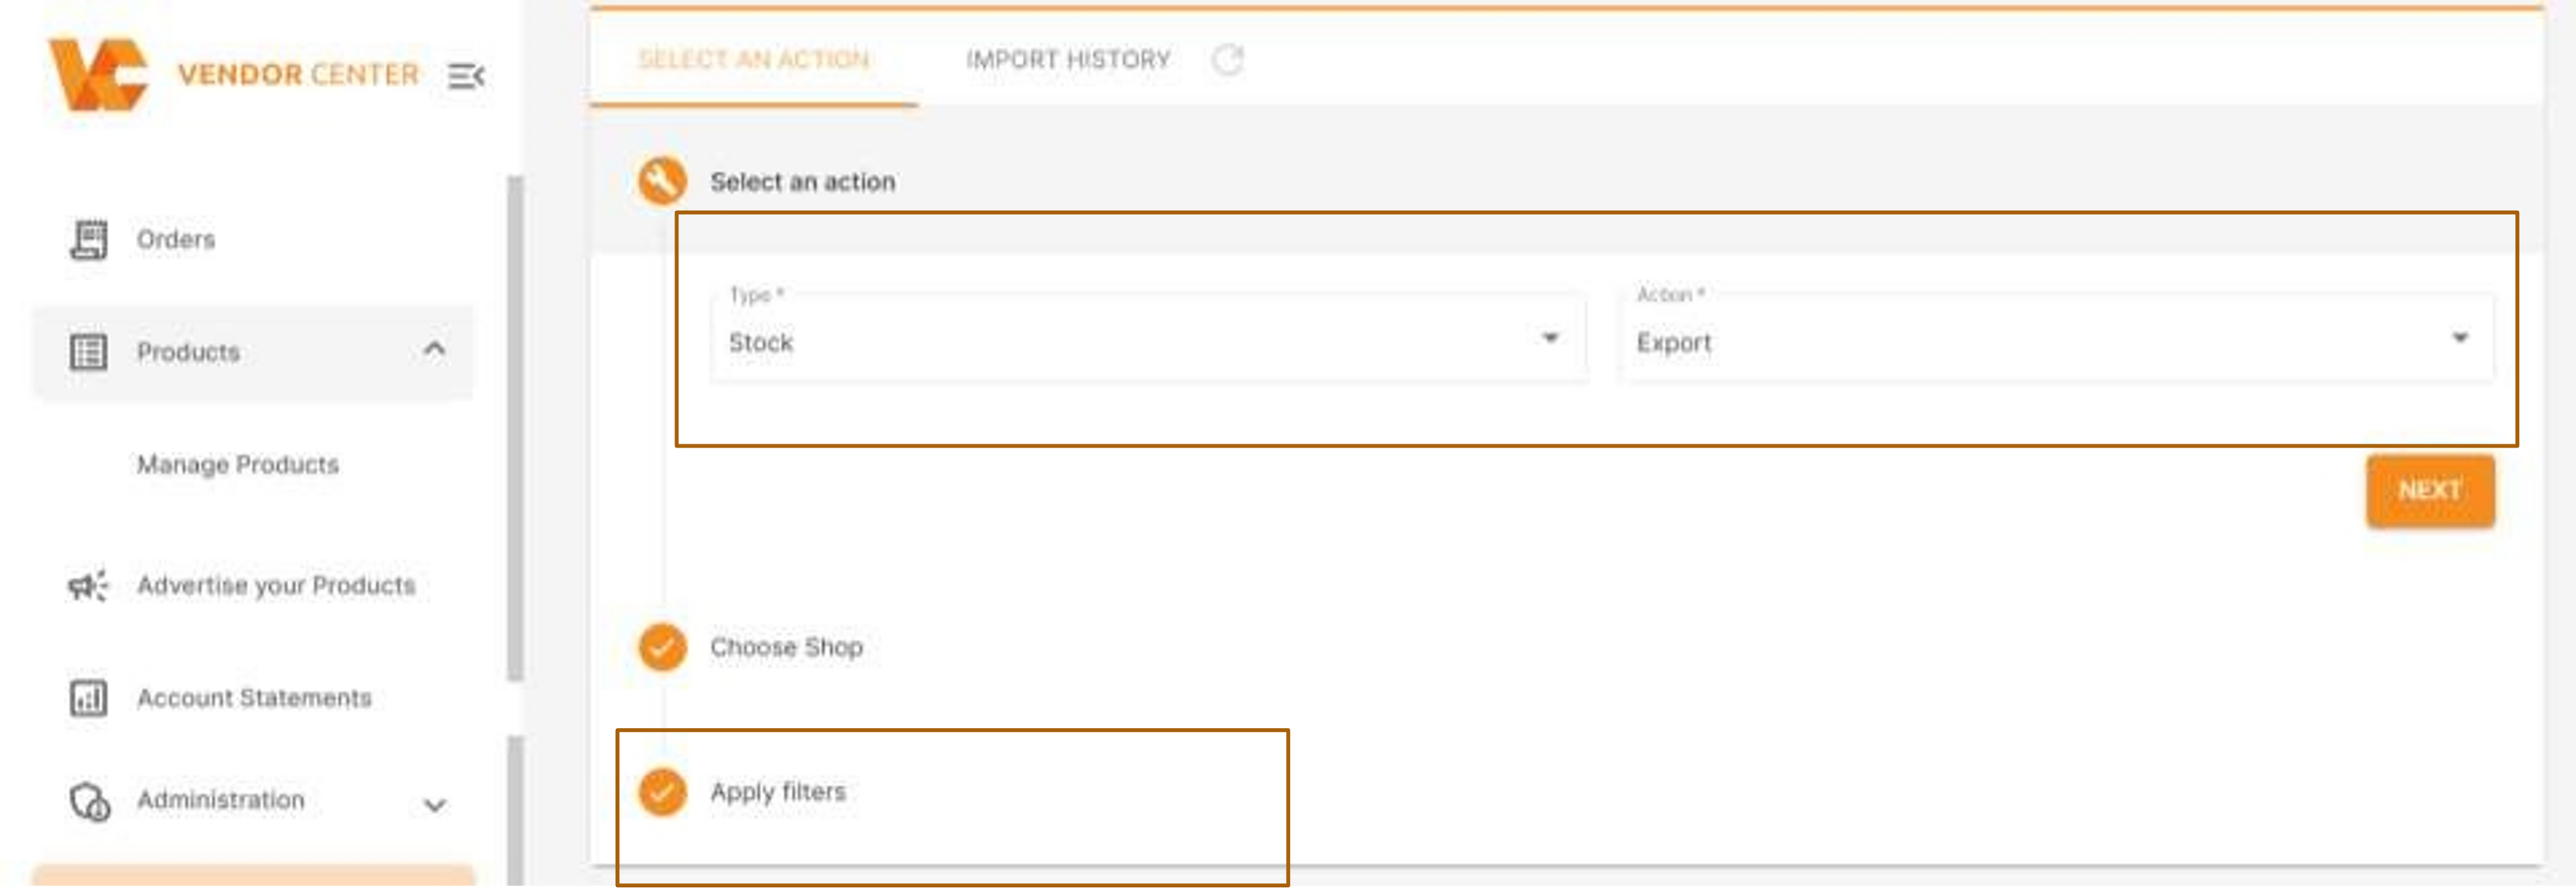
1-To do any price/stock update, data has to be exported from VC first to get the (SID) to be able to do the update needed
From Import/Export > Price/stock > Export, and choosing the date range
2- After adding all the prices/stocks that needed to be updated
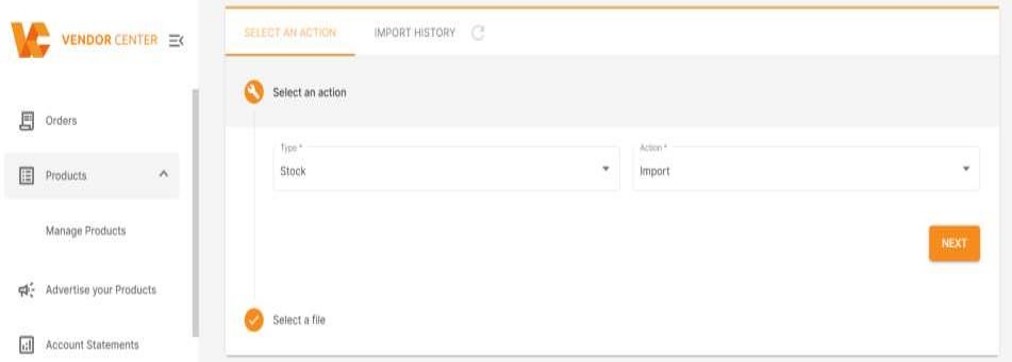
From Import/ Export > Price/Stock> Import
And then drop the File
Convert Images into Links
1-VC doesn’t accept the images except links and to be added while doing the creation; otherwise, creation sheets will not be uploaded
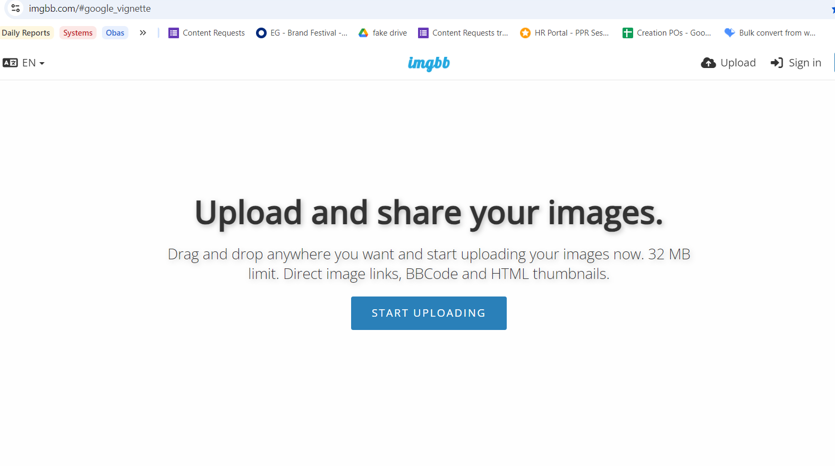
2-You can use this https://imgbb.com/#google_vignette to convert the images to a link
1-VC doesn’t accept the images except links and to be added while doing the creation; otherwise, creation sheets will not be uploaded
2-You can use this https://imgbb.com/#google_vignette to convert the images to a link
Here are the steps for converting images to links
1- You can drop the images you want
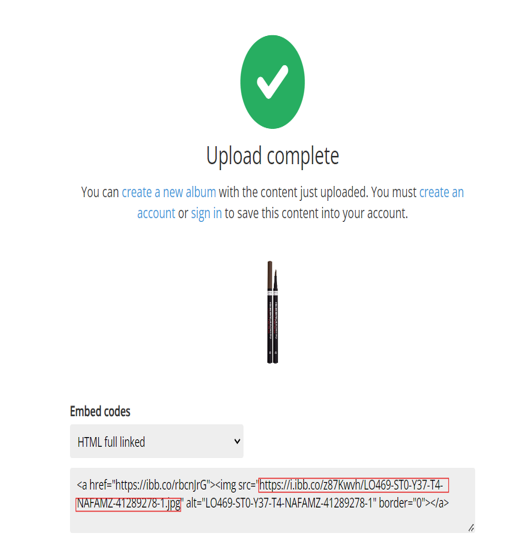
2- Press upload
3-Choose HTML Full Linked and take the highlighted link starting from
http to jpg
4. Put the link in the sheet

Click here to watch videos on how to upload products on the Vendor Center